5 Steps to Build a Gate Use Wire Mesh Fence - by C.F. Co.
Wire mesh fences are a popular choice for many homeowners due to their affordability, durability, and versatility. In addition to providing security, they can also serve as a decorative element that enhances the overall aesthetic of your property.
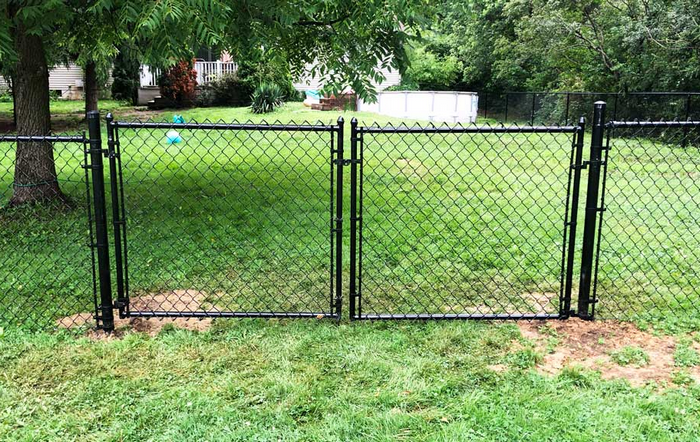
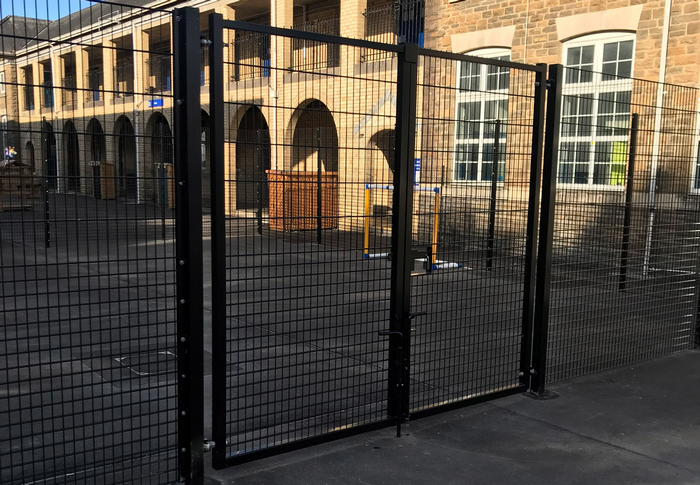
One of the most common uses for wire mesh fences is building gates. In this article, we will discuss how to build a gate using wire mesh fence.
Step 1: Measure the Opening
To begin, measure the opening where you want to install the gate. This will help you determine the size of the gate you need to build. Be sure to factor in the width of the gate posts, which can vary depending on the size and weight of the gate.
Step 2: Choose Your Materials
The materials you will need to build a wire mesh fence gate include: - Wire mesh fence panels - Gate posts - Hinges - Latch - Bolts and screws
Step 3: Cut and Assemble
the Frame Using a saw, cut the wire mesh fence panels to the appropriate size for the gate. Then, assemble the frame by attaching the panels to the gate posts using bolts and screws. Be sure to leave enough room for the hinges and latch.
Step 4: Install the Hinges and Latch
Once the frame is assembled, install the hinges on one of the gate posts and attach the gate to the hinges. Then, install the latch on the other gate post so that it lines up with the latch mechanism on the gate. Test the gate to ensure that it opens and closes smoothly.
Step 5: Add Finishing Touches
To give your gate a polished look, you can add finishing touches such as decorative caps for the gate posts, paint or stain for the frame, or a handle for the latch. In conclusion, building a gate using wire mesh fence is a straightforward process that can be completed with basic tools and materials.
By following these steps, you can create a sturdy and attractive gate that will provide security and enhance the appearance of your property.


